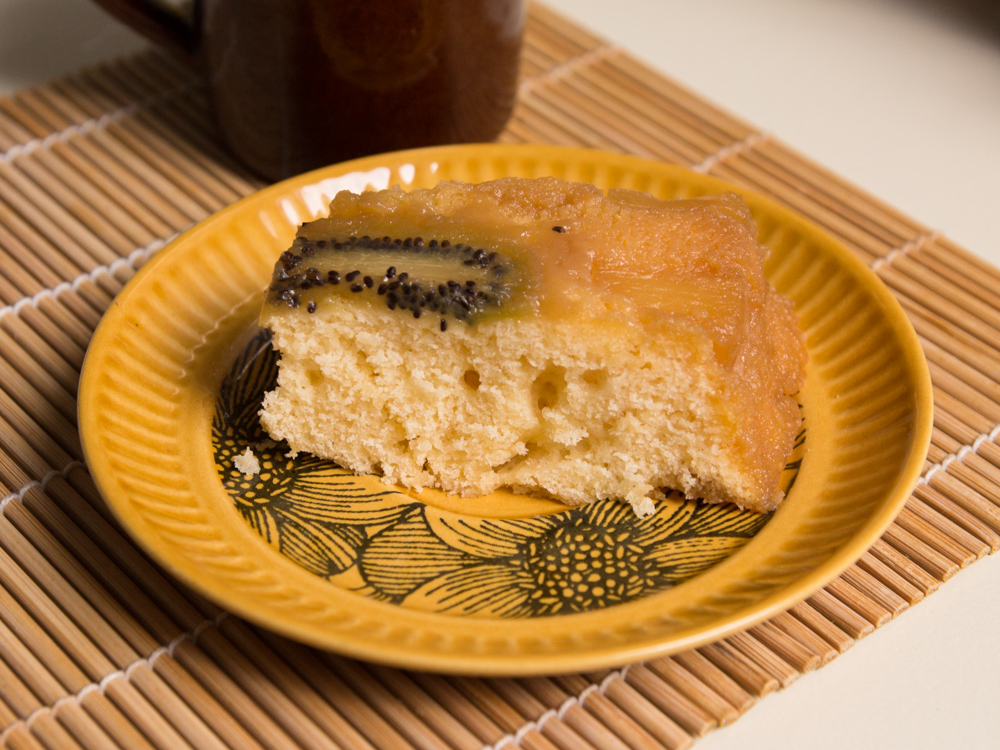
Upside-down cake in a cast iron pan
by amy – September 1, 2015 in Cooking
It’s late in the afternoon and your loving partner writes to say that sadly, he was a little late to work and missed out on Monday cake at the office. He’s sad and dejected, and more importantly, cakeless. What do you do?
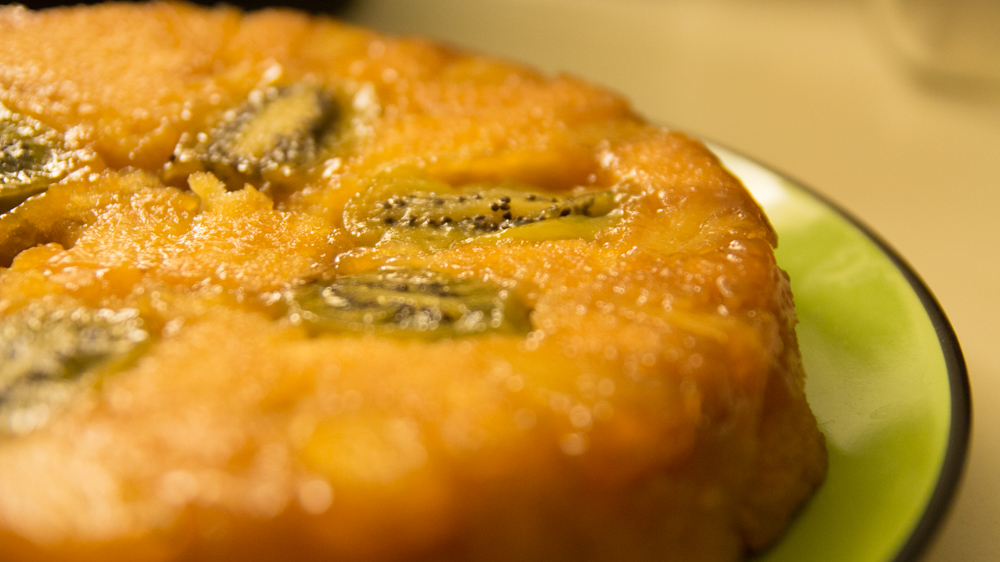
You bake him a cake.
But it’s late in the day, and you’re already planning to cook dinner for when he arrives, tired, hungry, and wet from biking home in the rain. You need a solution, and you need it fast. Something sweet and ridiculously easy.
I’ve made upside-down cake once before. It was the classic one with pineapple circles and maraschino cherries in the middle. (That recipe was quite different!) But this time I didn’t have any pineapple rounds. And now we’re down under in Kiwiland (New Zealand). We also just acquired a big bag of kiwi fruit at the farmer’s market on Sunday. What could be more appropriate than kiwi cake?
Upside-down cake is a snap. I’m gonna show you how I made it in my cast iron skillet. Since I came into possession of this beautiful 8-inch pan, thanks to the generosity of a previous tenant at my house, I realized I knew very little about what could be done with such a pan. I searched “cast iron recipes” and a whole bunch of tantalizing ideas popped up, making me eager to try every single one. And what do you know? You can cook cake in a cast iron pan. Perfect. I leapt into action.
I followed this recipe at food.com, substituting kiwi and pineapple chunks, which is what I had on hand, and adding vanilla. Here’s how it’s done.
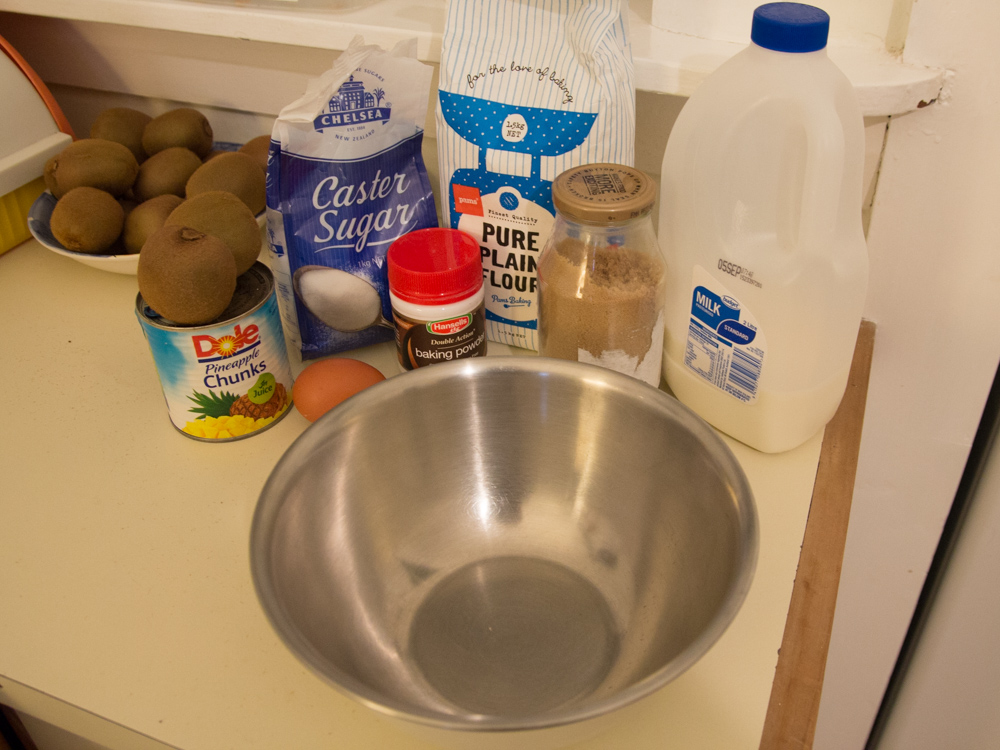 Step 1: Get your ingredients
Batter:
1 1/3 cups flour
1 cup sugar
1 1/2 teaspoons baking powder
1/3 cup butter
3/4 cup milk
one large egg
1/4 teaspoon salt
1 teaspoon vanilla
Syrupy fruit topping:
2/3 cup brown sugar
1/4 cup butter
sliced fruit (I’m using kiwi and pineapple chunks)
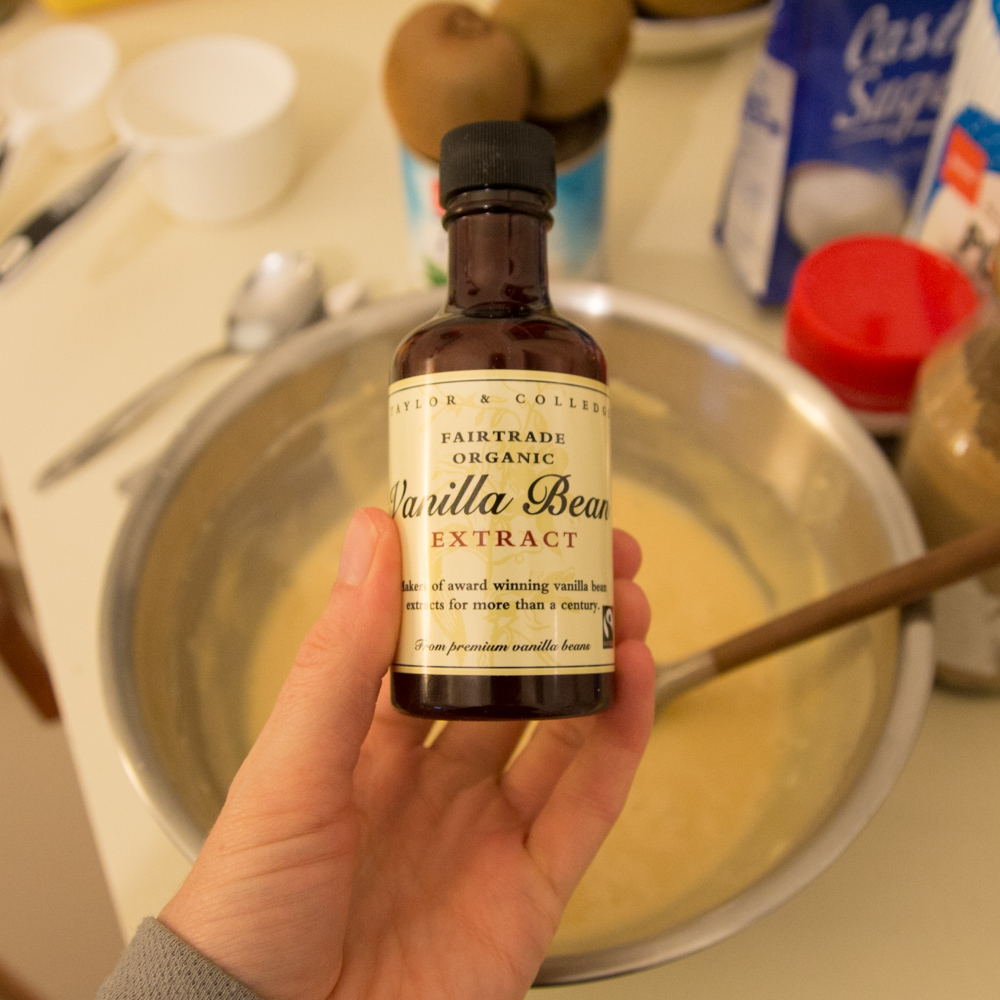 Step 2: Mix your batter
Mix everything together in a medium size bowl: flour, sugar, soft or melted butter, milk, baking powder, salt, egg, vanilla. Just dump it all in together (I love doing that) and mix until just blended. Just one bowl, one pan. This is my kind of recipe.
Vanilla extract wasn’t in the original recipe, but I don’t bake anything sweet without adding vanilla. I carry a bottle of vanilla in my back pocket, so I’m ready for anything that calls for it. I’m pretty fast on the draw with vanilla. This bottle happens to be fair trade – bonus!
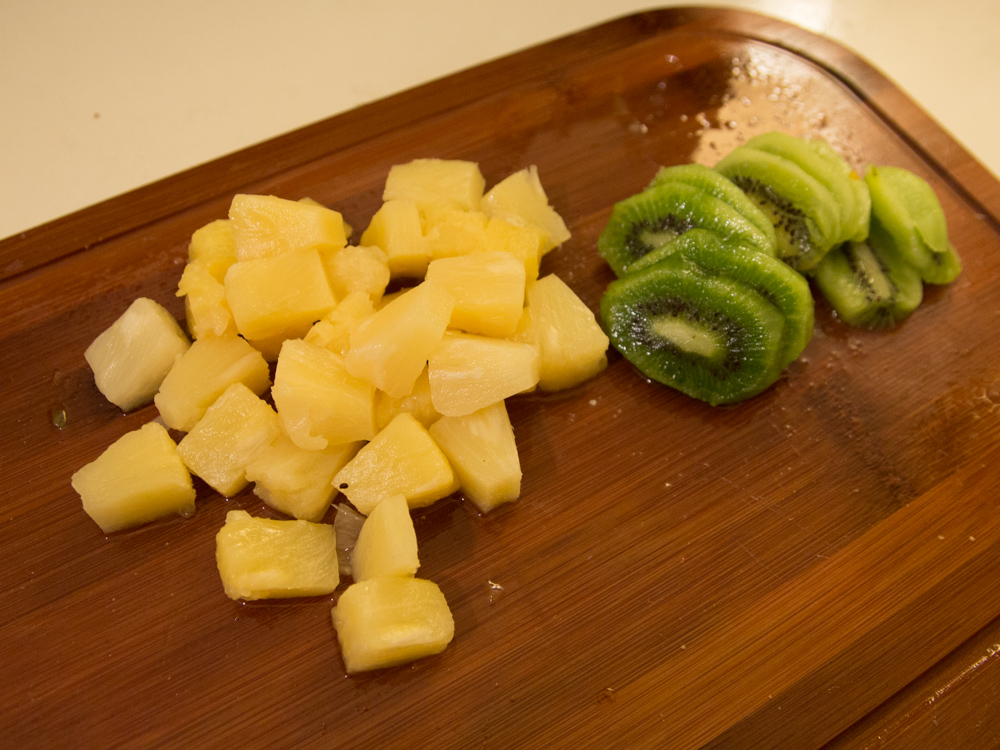 Step 3: Make caramel syrup with fruit
This is done on the stovetop, right in the same pan that you’re going to bake this cake in. Is that convenient or what? I was so excited for this part.
All I have here is a picture of the fruit. I’m real sorry I didn’t get a picture of the actual syrup-making part, because it’s a beautiful sight to see. I was too excited to remember the camera. Try to imagine it as you follow along.
Put 1/4 cup of butter in your cast iron pan over medium-low heat. Once it’s melted, add 2/3 cup of brown sugar. Mix it with a wooden spoon until blended. Then turn off the heat and begin to place your sliced fruit on top, arranging it the way you want it to look on top of your cake. Remember that the bottom of this cake will end up being the top. I put kiwi slices in a circle in the center, arranged like flower petals. Then I put pineapple chunks around the outer edge, evenly spaced in a circle.
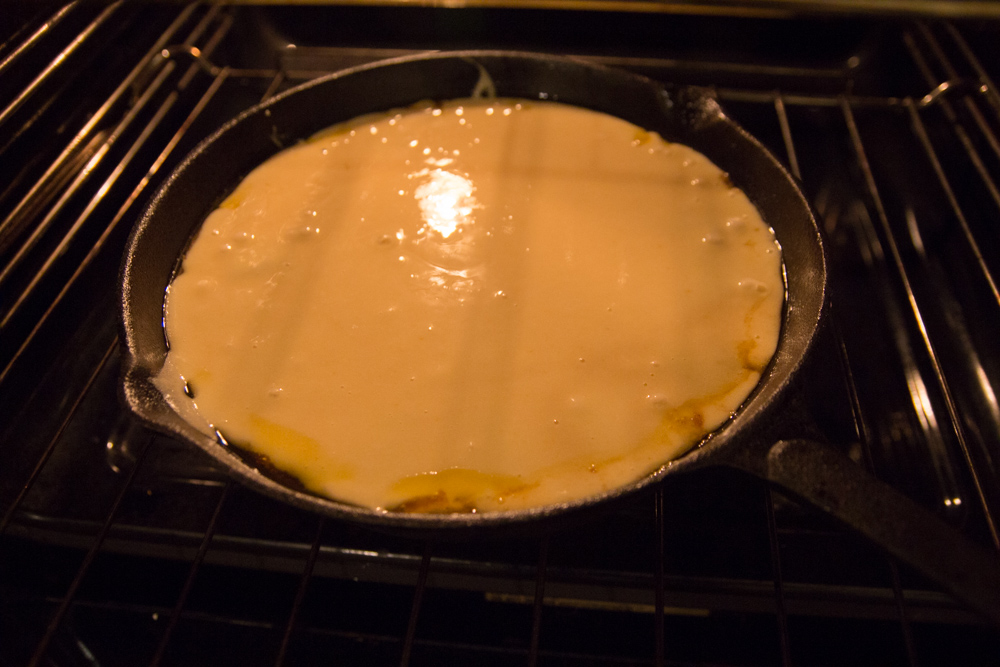 Step 4: Pour the batter in and bake
This is the second fun part. Use a rubber spatula and pour your batter in the pan over top of the caramel syrup and fruit. Your batter should be pretty runny. This leads to a dense, moist cake in the end.
Pop it in the oven at 350°F / 175°C for 30-40 minutes, until the batter looks solid. The syrup may start bubbling around the sides. Don’t worry too much, but you may want to put a cookie sheet on the rack below in case some of it drips over the sides of the pan. You don’t want to be scraping dried caramel syrup from the bottom of your oven later. My cake had syrup bubbling up through the batter in the center, too. I let that go. Nothing wrong with surprise caramel bits in your cake!
When you think your cake is done, test it with a toothpick to make sure the batter has firmed up. Take it out of the oven.
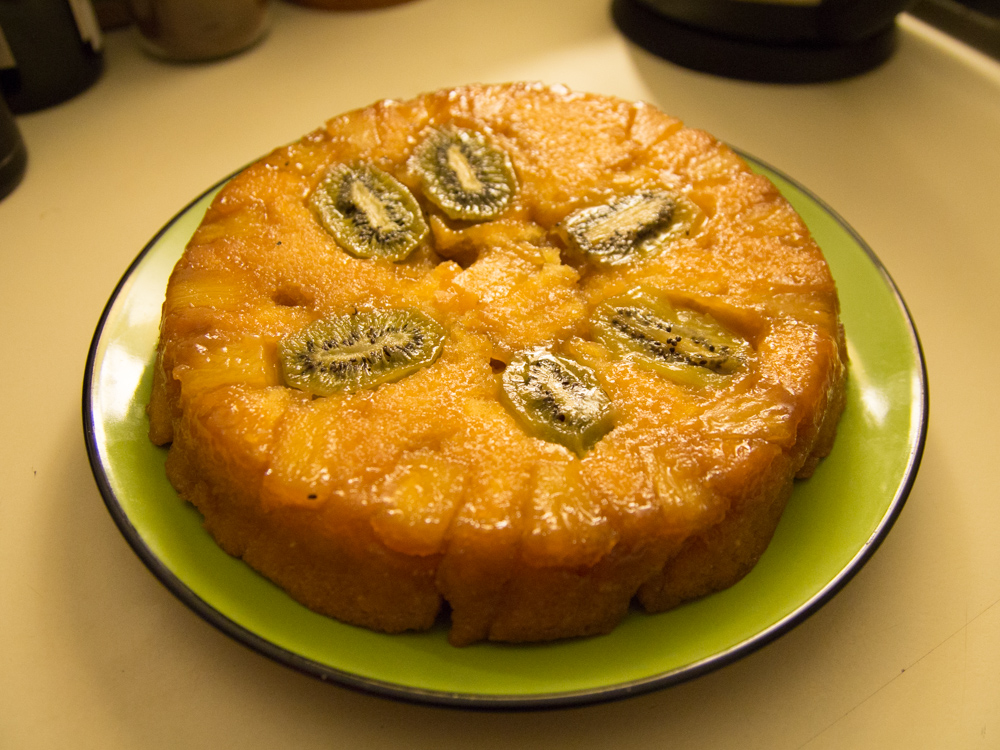 Step 5: Flip that cake upside down
Now for the fun part! Once your pan has cooled for a couple minutes, take a big plate and put it face down over your pan. Try to center it. Then, while using one hand to press the plate to the pan, put a potholder on your other hand and grab the pan firmly by the handle, and flip the whole shebang. The sticky top of your cake might be clinging to the pan, but just give it a little shake and it should come off easily onto your plate.
What I did was prepare the batter before making dinner and kept it in the fridge. Shortly after dinner, I made the caramel syrup and put the cake in the oven. This could be a fun, fast step to do with your sweetheart, or with kids.
Step 6: Eat and enjoy!
